Applications
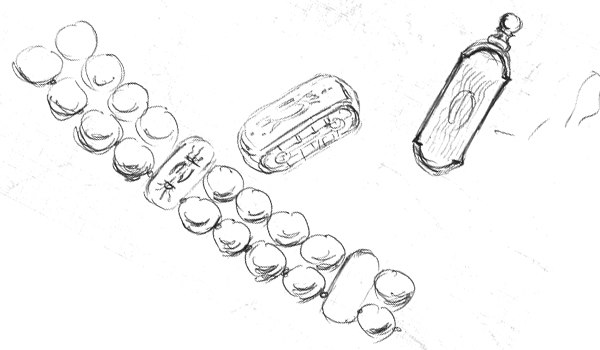
A conversation about budget, dimensions, materials, timing, and vision. A preliminary pencil sketch. Then the work moves to the computer — in this example, Rhino 3D. Every element of the necklace is modeled in three dimensions, along with the overall structure, sized to the exact number and diameter of pearls.
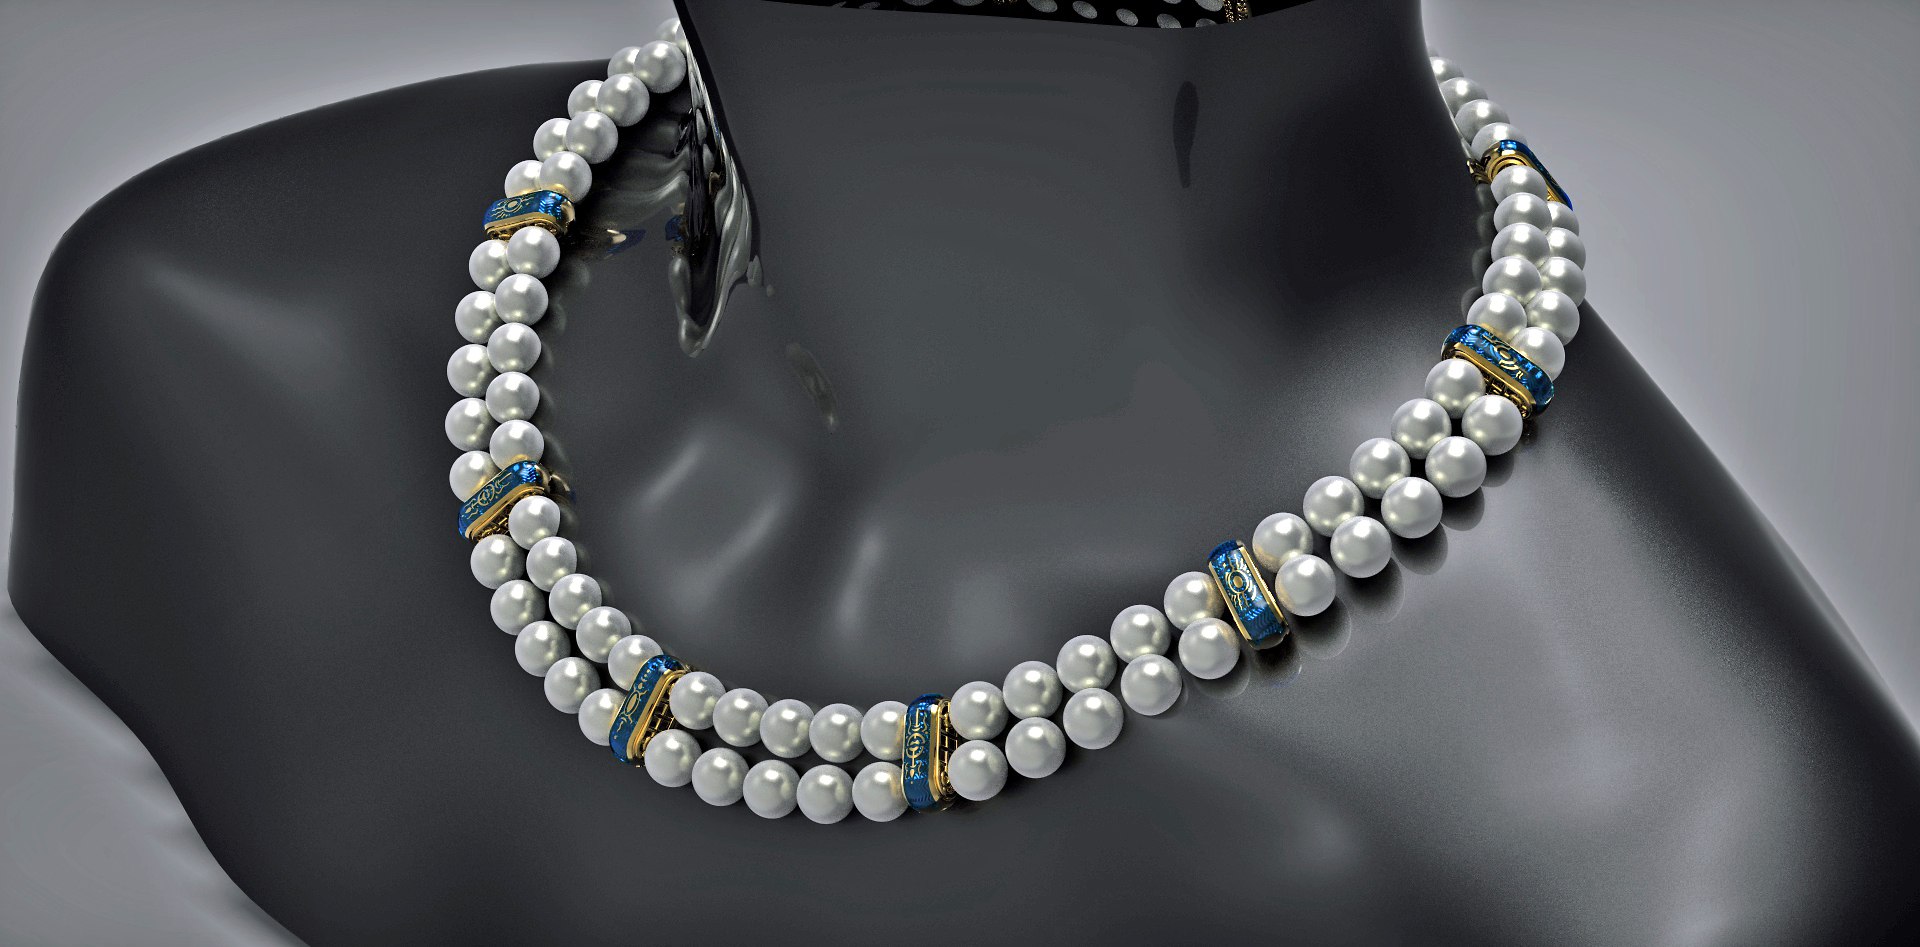
A completed 3D model serves two purposes. First, manufacturing — the next step is CAM. Second, a photorealistic render: a virtual necklace on a virtual pedestal, indistinguishable from a finished-piece photograph, shown to the client before any metal is cut.
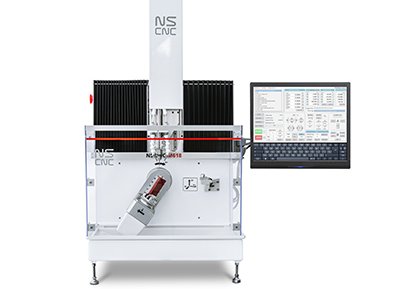
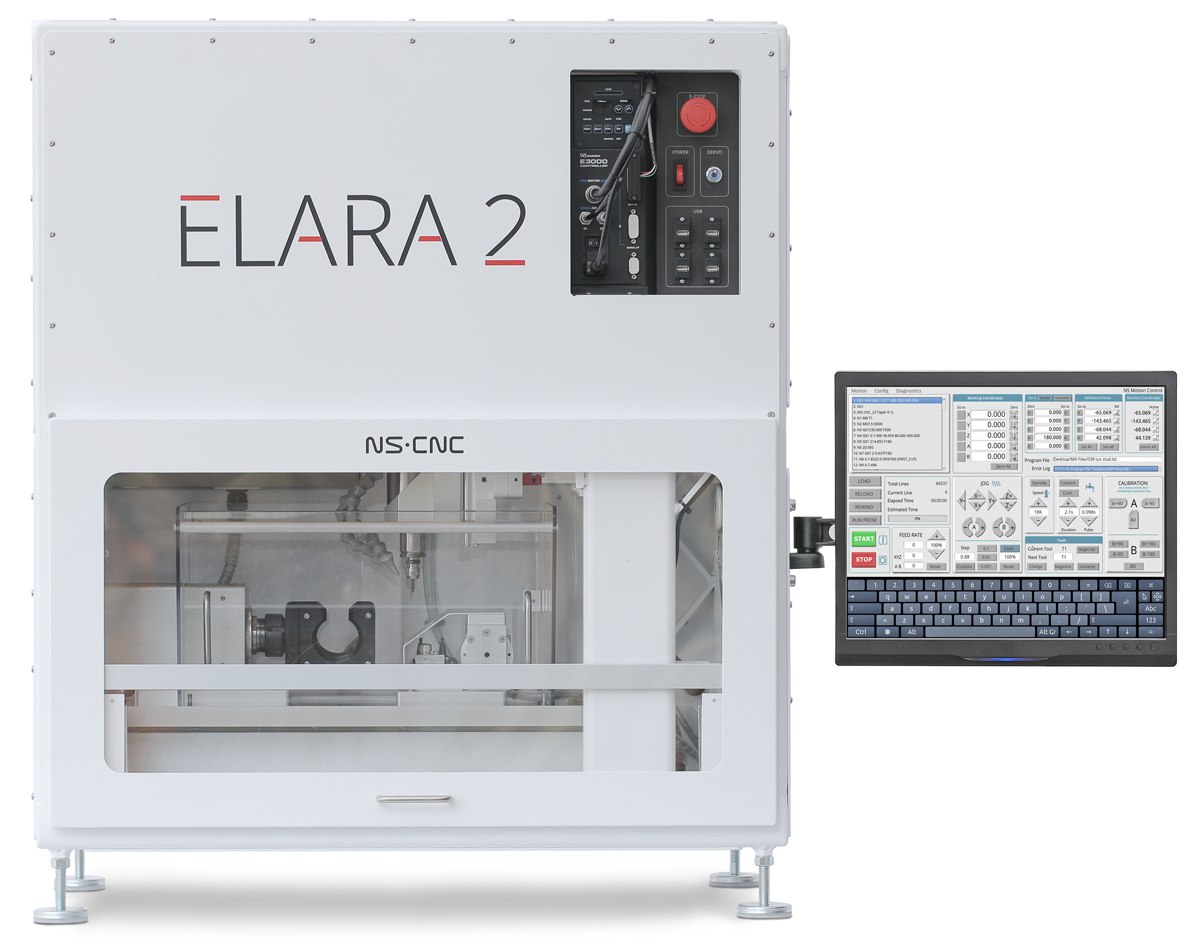
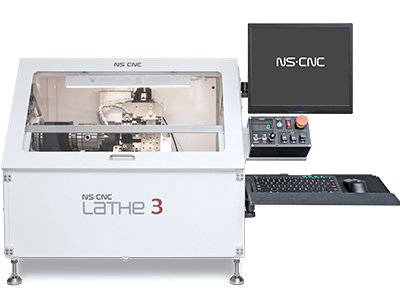
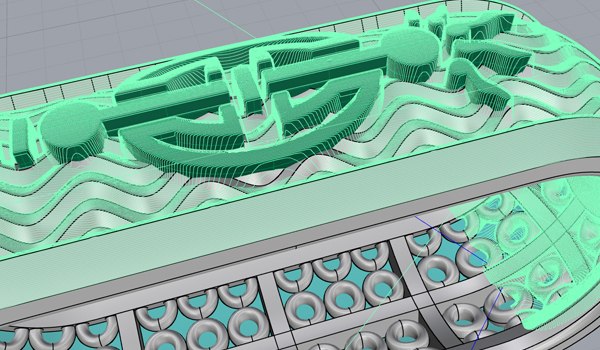
CAM software reads the 3D geometry and calculates the machine movements needed to cut it from wax. Basic CAM drives a 3-axis machine; advanced CAM drives a 5-axis mill like the Mira 6S. The virtual model is placed at the origin of all axes, oriented to match the real-world setup, and the program is configured to the mill, the spindle, and the cutting bits available.
Choosing the right cutting strategy — orienting the model for maximum exposure to the tool — reduces post-production work. The green toolpath lines render across the model surface. They look right, the G-code is exported, the machine is next.
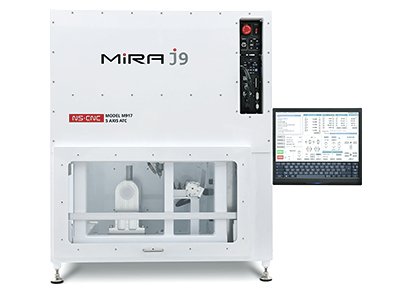
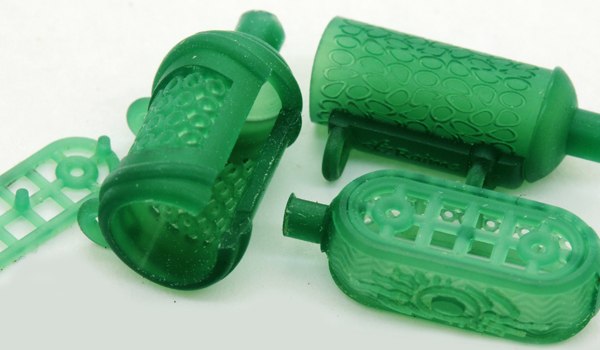
Power up the machine. Home the spindle. Mount a blank wax workpiece into a fixture. Load the G-code. If running aggressively, turn on the lubricant jet. The Mira 6S cuts from a uniform block of green casting wax — alternating sides to maintain stability — until the model is complete.
Surface quality is sufficient for direct casting. Microscopic details and the finest surfaces emerge from a plain block of green wax. The designer's fantasy becomes tangible.
Wax models are sprued onto a rubber sprue base. A metal flask — a short length of steel pipe — goes over the top, gripped by the sprue base rim. Refractory plaster investment is poured in, allowed to harden, then placed cup-down in a kiln.
Heat hardens the plaster into a shell. The wax burns out cleanly, leaving a precise negative cavity. Metal — gold, silver — is cast straight from the kiln by centrifugal or vacuum casting, filling every detail. The casting is removed, cleaned, and inspected.
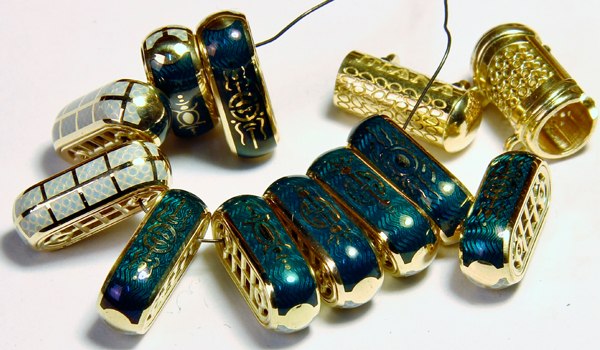
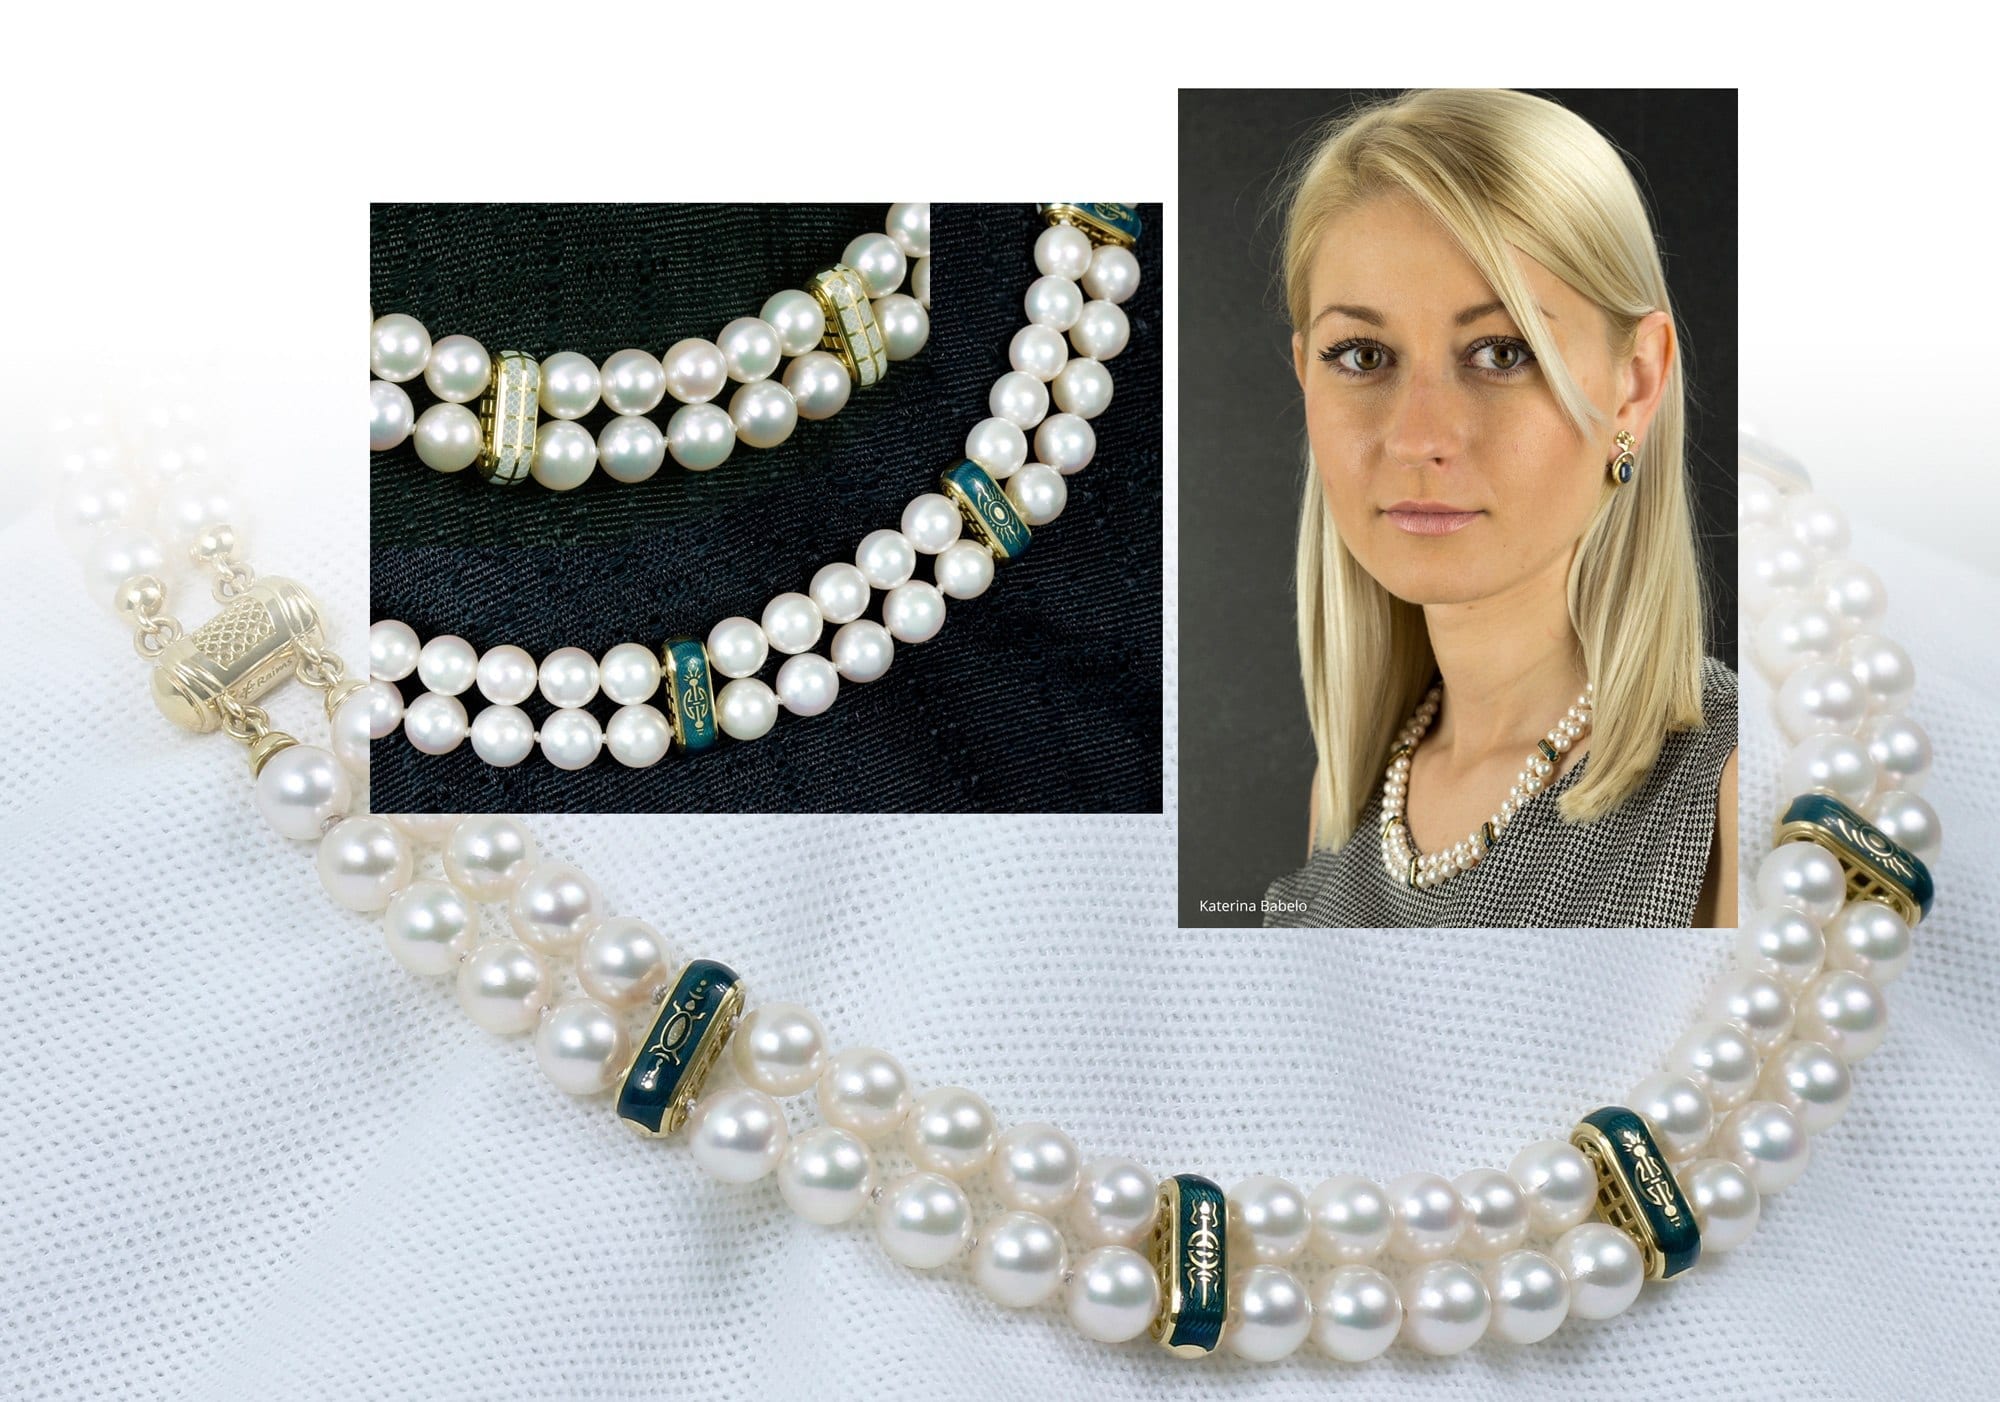
Each metal element carries two completely different patterns. One face: guilloche with dark blue enamel. The other: a translucent design in white enamel. The necklace reverses — dark or light, depending on the day.
All gold elements are hollow, light, with closed side-patterned covers. To protect the thinnest enamel layers, there is no soldering or laser welding — the heat would destroy them. The clasp is solid, durable, and easy to open. Matching earrings complete the set.
Designed, machined, cast, enameled, and assembled by one person. Start to finish — Raims.